Fast Start: Transfer from i2 control to i3 pro + Activation and Work with the Server
Conversion of Projects from i2 control to i3 pro + Server
Specifics of using iRidium v2.x projects in Ridium Pro:
1. Properties of keyboard activation were changed. You might need to rewrite macros and scripts for keyboard activation.
2. There is a new API for Lists. Do NOT use the old List API for iRidium v2.x in Ridium Pro as it is not supported.
Open your project for i2 control in iRidium Studio. You will see the following window:
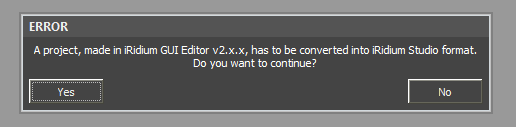
Agree to continue work with the project.
Save the converted project.
Right-clikc on the project folder in Project Overview. The system menu will open. Select "Create Server Project".
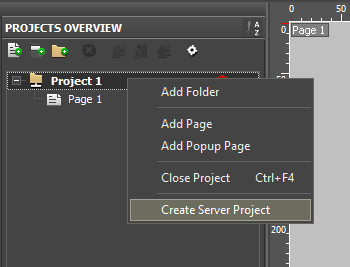
Your project will be divided into two parts: the server project and the panel project.
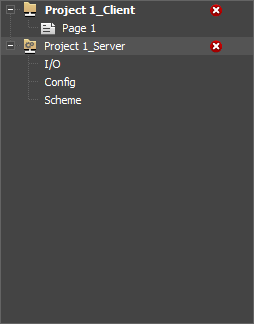
Save the received projects.
Attention! At dividing of the project into the server and the panel one, the scripts can stop working ad the names of channels and feedbacks change.
Upload of Projects into Cloud
In the i3 pro version there is a new term - an automation object.
It is a folder in the cloud where all projects of one automation object are stored. It is used for sharing projects with end-users, activation of the testing period (the 60-day Trial license) and obtaining the license for the object.
When uploading the project via iRiduim Cloud, there are three available modes:
- TestMode - 20 minutes of continuous work. Each 20 minutes i3 pro has to be reloaded. The mode is activated automatically, if the cloud object does not have the started Trial period or a license
- The Trial period - 60 days of continuous work. The mode has to be activated in the settings of the cloud object. You cannot prolong the Trial period.
- The license which works without time limit. If the cloud object had a licensem you can download and use the projects without limitations (withing the limits of the functions you paid for)
To add an object in the cloud:
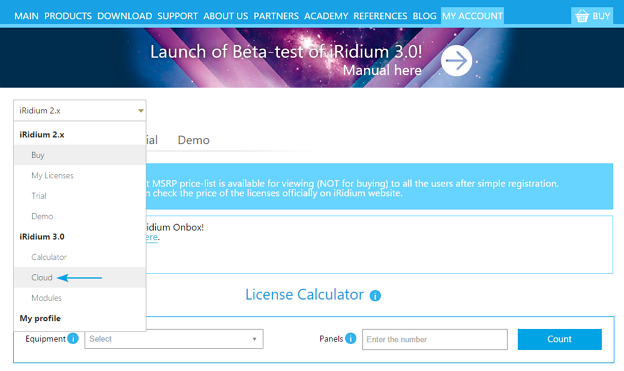
1. Sign in the iRidium mobile web site with your login and password.
2. Go to the My Account section
3. Select the following from the drop-down list
4. You will see the selected tab
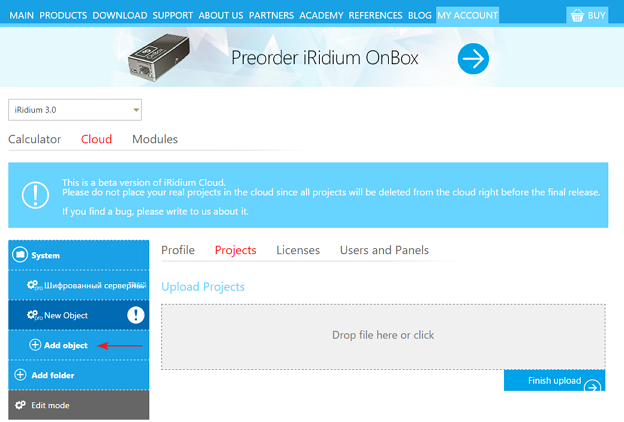
5. To add the project, click "Add object"
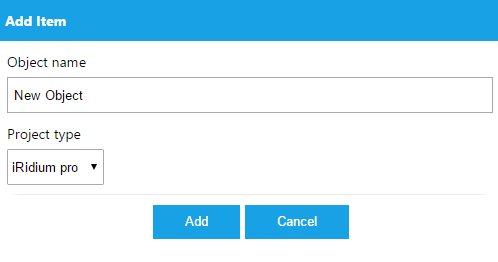
6. Input the object name and select the type of projects it will contain (i3 pro).

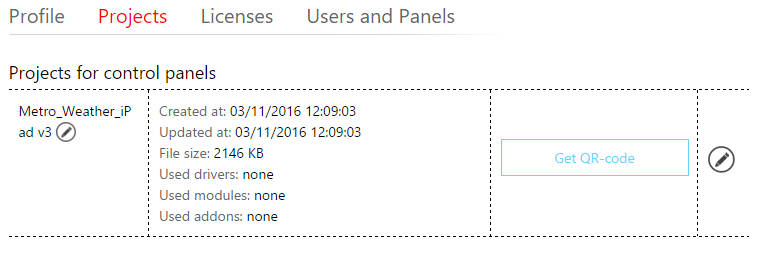
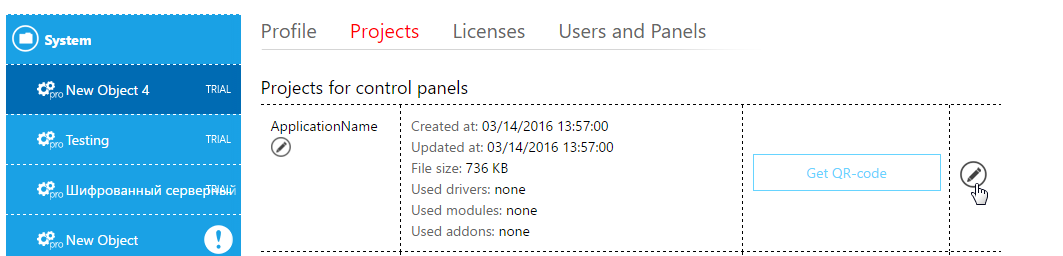
7. To add the project in the cloud, click on the "Projects" tab. Drag visualization projects (*.irpz) or add them by clicking on "Drop file here or click"

8. After the adding click "Finish upload"
9. In order to add the license, go to the Licenses tab.
9.1. You can activate the free Trial license for 60 days. In order to do that click on the corresponding icon and confirm your choice in the appeared window.
10. You can add users who will be able to download your project in the Users and Panels tab.
Download of Projects on Server
If you try to download your project on an non-active server via Transfer, you will see an error:

There are 2 modes of server work:
- the console application
- the service.
Any server can work only in one mode at a time. If you want to start it as a console, then you need to stop the service manually by opening the task manager -> Processes -> Background processes.
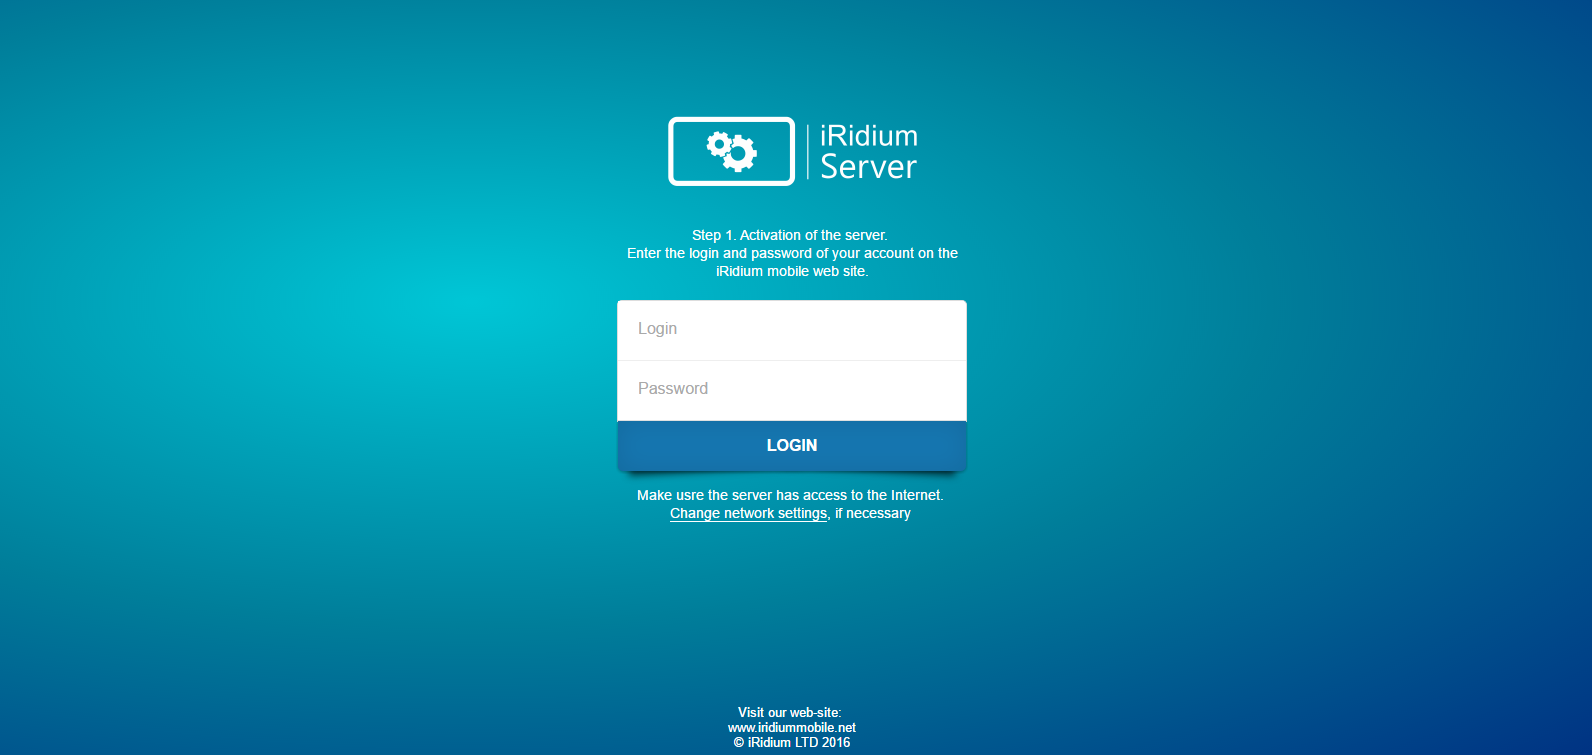
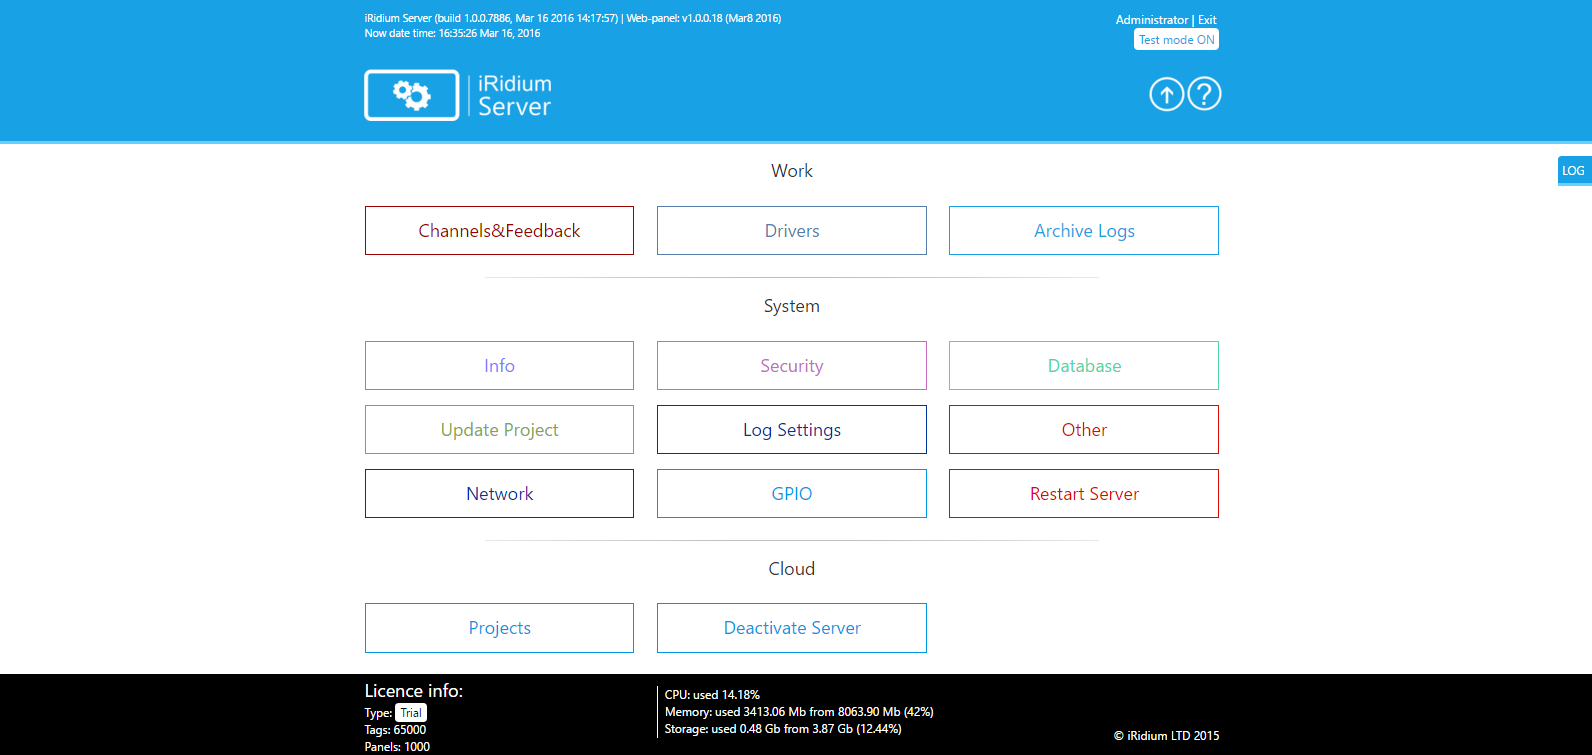
To activate your server, start it (or check that it is started as a service), open the browser (Google Chrome, Mozilla, Opera, etc.) and input the IP-address of the device where the project will be downloaded in the search box. The main page will open
Important! You must added at least 1 server project in the automation object. Otherwise, the list will be empty. In this case you will be able to work only with projects which are downloaded via Transfer.
After selecting the project, it will be downloaded on the server. Then the main page will appear.
If you edited your project and want to update it in the cloud, go to the web site, open the list of projects in the object and click on the edit icon.
The project field will look as follows:
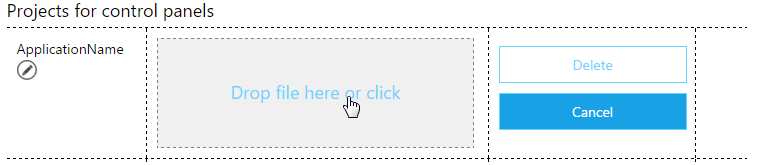
You can delete the project by clicking the Delete button. To update the project, save the changes in the editor and open the edited project by clicking "Drag file here or click" or dragging the file in the indicated field.
Customer support service by UserEcho