Work with iRidium Server via Web-interface
 How to start work with WEB control panel of iRidium Server
When iRidium mobile Server is installed, Web-interface is installed with it. How to use it:
Open a browser on the device from which you will control the server. In the address line input the IP address of the machine, where a server project is uploaded..
For example, http://192.168.0.90:8888,
where https:// is a protocol
192.168.0.90 - IP address of the machine (it's unique for each machine),
:8888 - connection port (the same for any device).
You'll proceed to the authorization page:
Web Server can be opened with the help of hot key “w”. To do it, open the Server window and press“w”
You'll see this authorization page:
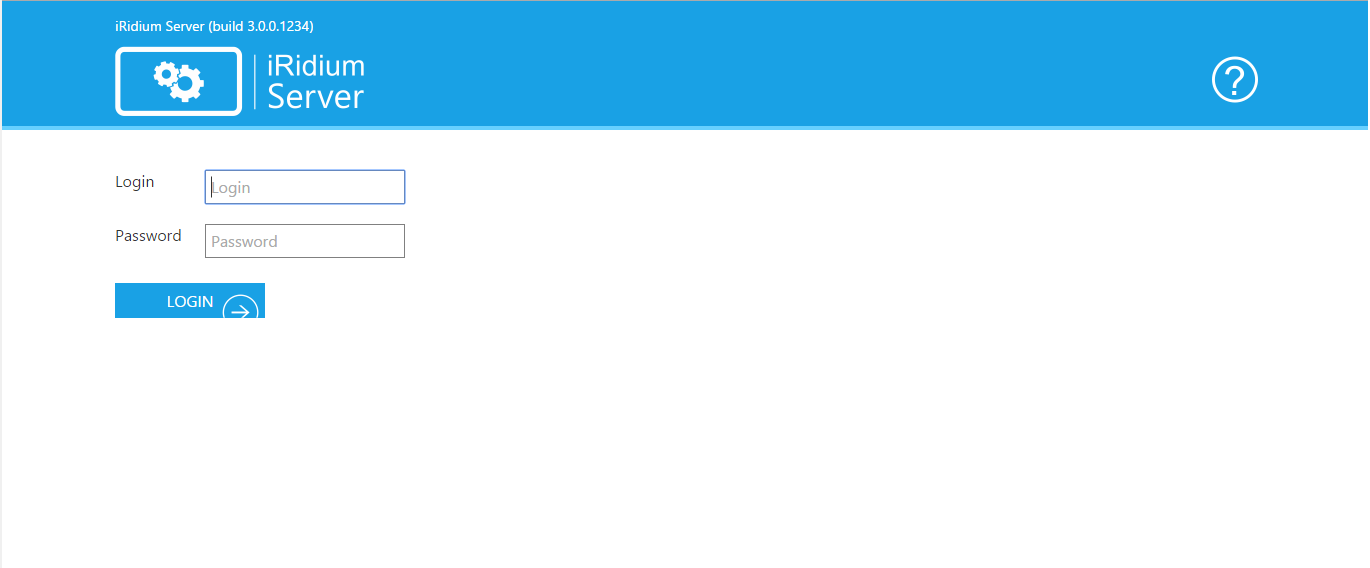
On this page you'll see:
- iRidium Server - line of the current state of the server version строка текущего (blue field)
- Login - your login. (admin - standard)
- Password - your password. (2007 - standard)
After authorization you'll get to the main control page.
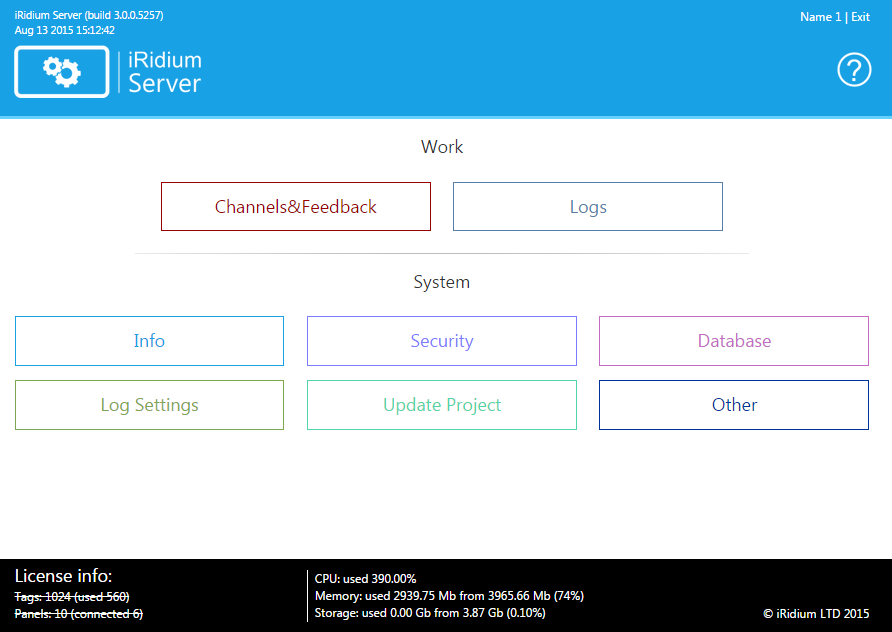
The main page has icons to go the follwoing tab:
- Panels - list of panels connected to the server
- Drivers - list of drivers connected to the server
- Channels&Feedbacks - channels and feedback of the project.
- Archived Logs - log storage.
- Info - information about the server.
- Security - security settings.
- Database - database located on the server.
- Log settings - settings of log levels.
- Update Project - uploading/updating a project onto the server.
- Other - additional settings.
Panels Tab
It contains information on panels, connected to the server.

- Name of panel connected to the server
- Panel HWID
- Tome of connection to the server
- “Ban” function - blocks panel connection to the server
- Ban list - opens a list of banned panels
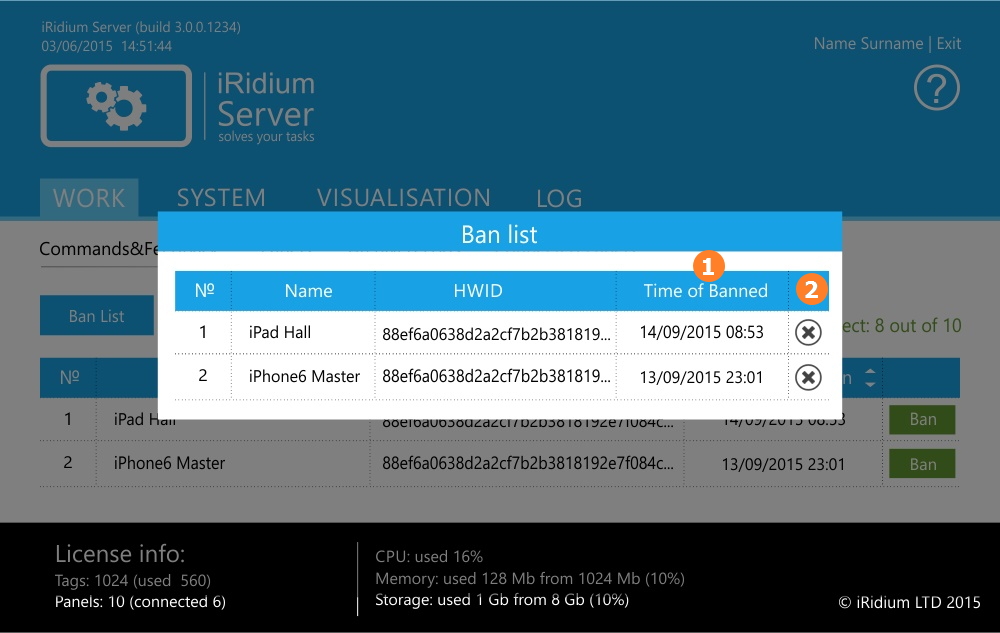
1. Time when the panel was banned by the administrator
2. Button that cancels BAN.
1. Time when the panel was banned by the administrator
2. Button that cancels BAN.
Drivers Tab
It contains information about drivers connected to the server and their settings

Each driver has its own settigns. These settings can be changed.
Channels&Feedbacks Tab
It contains information on server tags and commands. It allows to change values.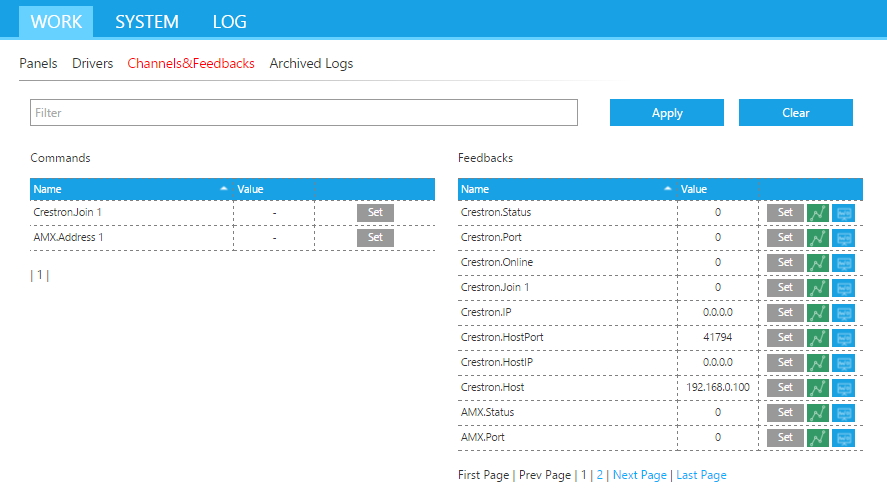
Commands window is on the left, tag window is on the right. The windows consist of:
- "Name" column contains names of commands/tags. By default the type of sorting is by the date (the first in the list is the last one added to the project). If necessary commands/tags can be sorted by name. To do it press the white triangle, located in the right part of the Name field.

- "Value" column is for commands and tags, this column functions:
- For commands: the field displays value that sent to the server.
- For tags: the field displays value that the server will return.
Important: Remember that the process of returning value from the server has to be done via script.
1. Column without name

1, 2. "Set" button allows to sen values to channels
3. "Online Trend" button. When this button is pressed, tag values are displayed in the trend.

Values are taken from the base. If the tag is not set to write data to the base, the trend won't be built.
To find the required driver fast you the search window:To return to the initial state, press "Clear". This button clears up the search window, "Commands" and "Feedback" windows display all commands and tags of the server .
Note:
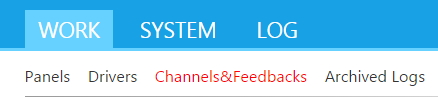
For convenient work there are tabs for quick movement among tabs at the top of the page.
Archived Logs Tab
The Archive Logs tab contains a list of log files, created during server work.
Log files are displayed here (detailed settings on working with logs are in "Log setting" tab). Files will have the following names: "<hours>_<minutes>_<seconds>(<number>)" (time when a file was made). They are stored in folders. that are created automatically. They have the following names: "<year>_<month>_<day>" (the current date).
.
The current size of the file is displayed in brackets [...]
You can save the file on a device. To do it, press "Download" on the left of the required file.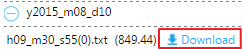
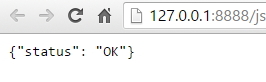
A new folder opens with the following text:
It means that the file you selected is saved.
Note: To learn where the file is saved use the "Info" tab.
Info Tab
"Info" tab is located in "System" catalogue.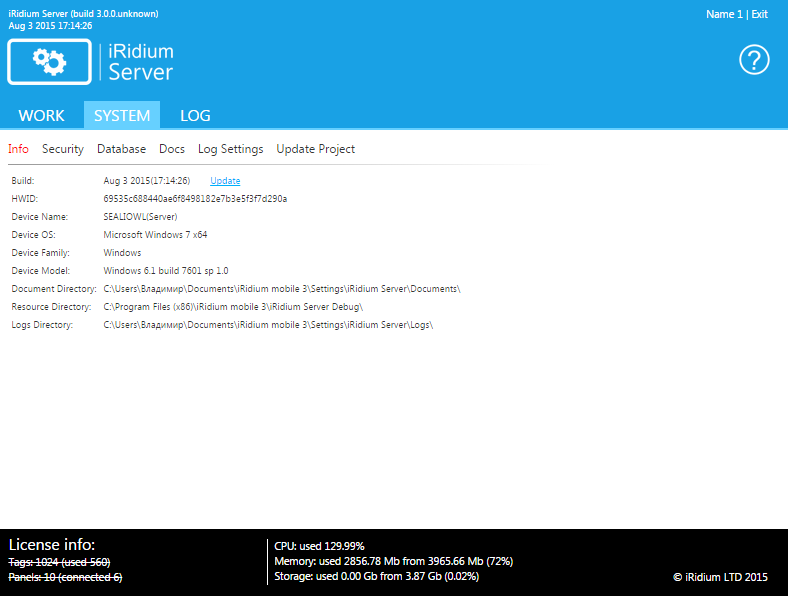
This tab contains complete information about the server:
- Build - current version of the server. To update the server version, click "Update".
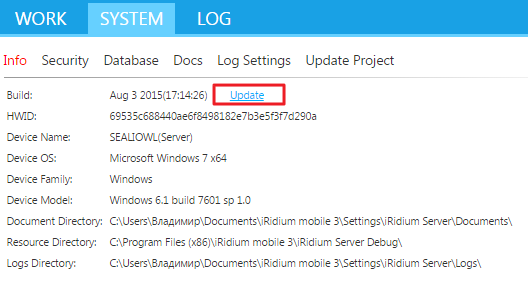
- Build - the curresnt version of the server. To update the server version, click "Update" link.
- HWID - server serial number.
- Device Name - name of server.
- Device OS, Device family, Device Model - information about the operation system, where your server is launched.
- Documents Directory shows the location of a project, that is uploaded onto the server at the present moment.
- Resource Directory shows the location of resources
- Logs Directory shows the location of saved log files.
Security Tab
This tab allows to change the password to enter the Web-panel.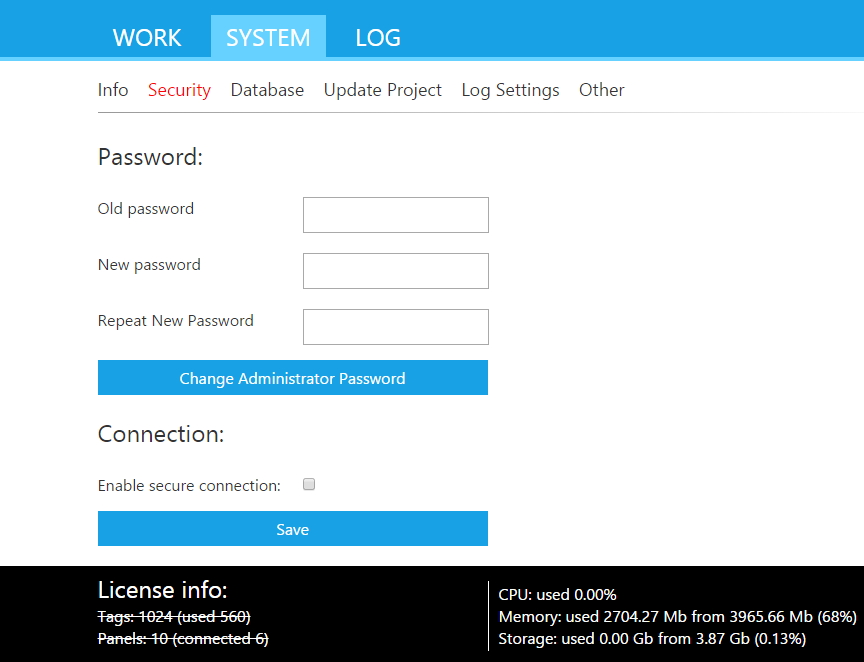
To change the password, enter the old password in the Old password" field, and enter the new password in the"New Password" field. Then enter the new password again in the "Repeat New Password" field and confirm the change by clicking "Change Administrator Password".
Database Tab
This tab shows information about the database and allows to edit it.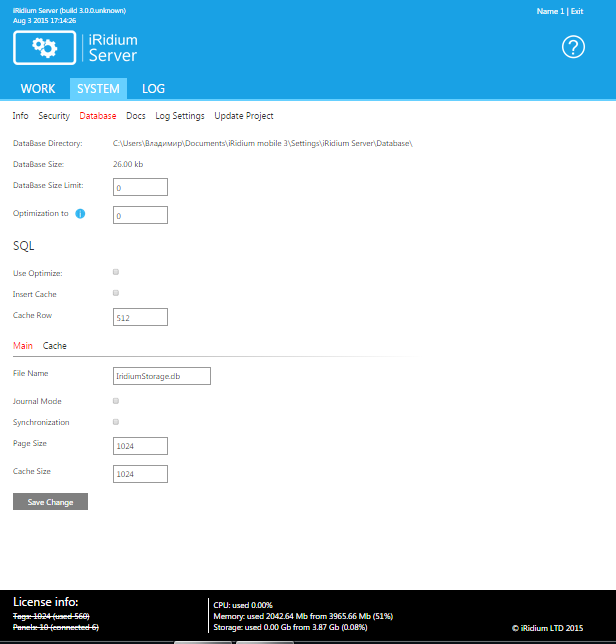
- Database Directory shows location of the database in the explorer
- Database Size shows the current size of the database in Kb
- Database size limit shows the maximum number of records in the database
- Use optimize - turn on/off optimization ot the database
- Insert Cache includes usage of additional cache
- Cache Row - maximal number of records that cache can hold.
Update Project Tab
This tab allows to upload/update the project on the server.
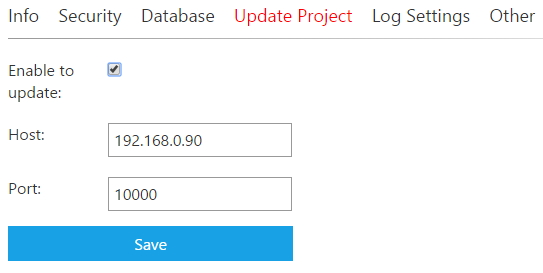
- Enable to update - turn on/off field visibility to update a project
- Host - address of the device with the updated project
- Port - address of the device with the updated project
Log Setting Tab
This tab is for settings of log work.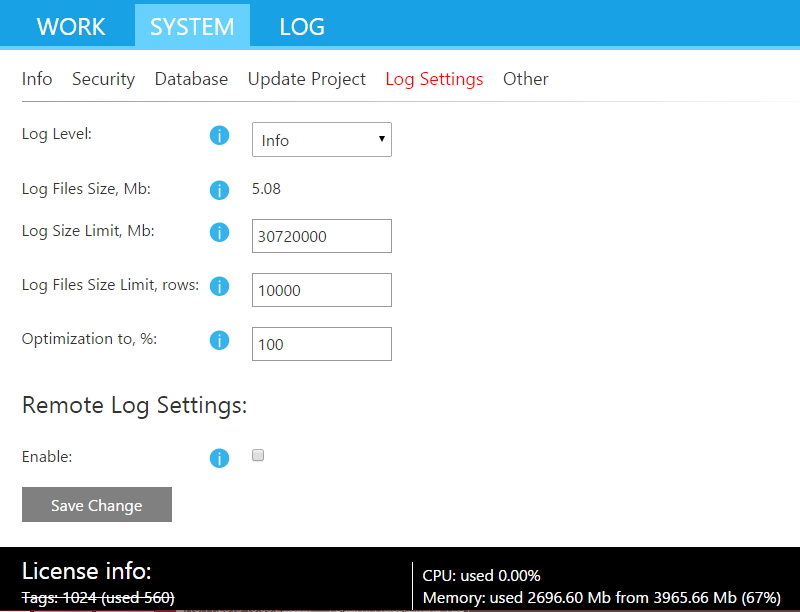
- Log level - allows you to select the level of log record (set by the user). To learn more about log levels, press here.
- Log files size - shows the currect size of the save log files in Mb.
- Log size limit - maximal available memory for log files (set by the user)
- Optimization to - when the maximal available memory for log files is filled, the server optimizes the current size to the value set by the user in per cent.
- Log file size limit shows that a defininte number of lines is logged in each file.
- Enable - turns on/off sending log files
- log Host - address of the device, receiving log files
- Log Port - port of the device, receiving log files
Вкладка Log

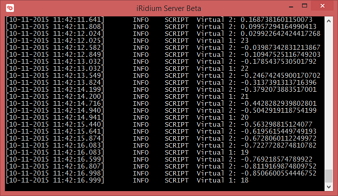
All events happening in server software are recorded here.
You can choose the log level by ticks in the top part of the window.
Customer support service by UserEcho